5. Visual adventure games
Now that we build a text-based adventure game in tutorial 4, let's look at how you can turn it into a visual adventure game. We'll just add to the game we build in chapter 6 and show you how easy it is to make the game more visual once you have all the elements in place. Make sure the game is running and start a new game via the menu. You can find the demo online.
First, we'll need to add the location-visual component to our GameContainer.vue component like this:
<div v-if="game.state === 'Play'">
	<location-visual v-if="game.worldProperties.type === 'Visual'"></location-visual>
	<location-text v-else></location-text>
</div>
We'll use a simple flag property on our game's worldProperties object to switch between the text and the visual versions of our adventure game. To make that work, we need to change two things: we need to define what our worldProperties object looks like and we need to set the flag somewhere.
First, define your worldProperties object by opening the game.ts file in your game's interfaces folder:
locations: Record<string, ICompiledLocation> & {
	get?(id?: string | (() => ILocation) | ICompiledLocation): ICompiledLocation;
};
worldProperties: {
	type: string;
	takenFlask: boolean;
},
currentLocation: ICompiledLocation;
We now have two world properties: type to tell us whether we want to show the text or the visual version of our adventure, and takenFlask to track whether the player has taken the flask item from the warrior. That way, we can prevent the player from taking the flask from the warrior again when he no longer has it because he created the healing potion.
Second, open your game's rules.ts file. This is an important file that allows you to hook into a lot of StoryScript events to run code of your own. Right now, we're going to set the type flag when the game starts:
setup: {
    initGame(game: IGame) {
        game.worldProperties.type = 'Visual'; // Set to 'Text' or 'Visual' to switch between modes.
    }
},
With this, your browser isn't showing you the start location text anymore. We need to add an image that will be the visual representation of our location now. Open the Start.html file and add a visual-features tag after the description:
<visual-features img="fountain.jpg">
<area name="Fountain" coords="292,218,289,259,269,261,229,292,228,321,262,340,364,342,409,316,411,293,367,261,344,259,345,216,318,195" shape="poly">
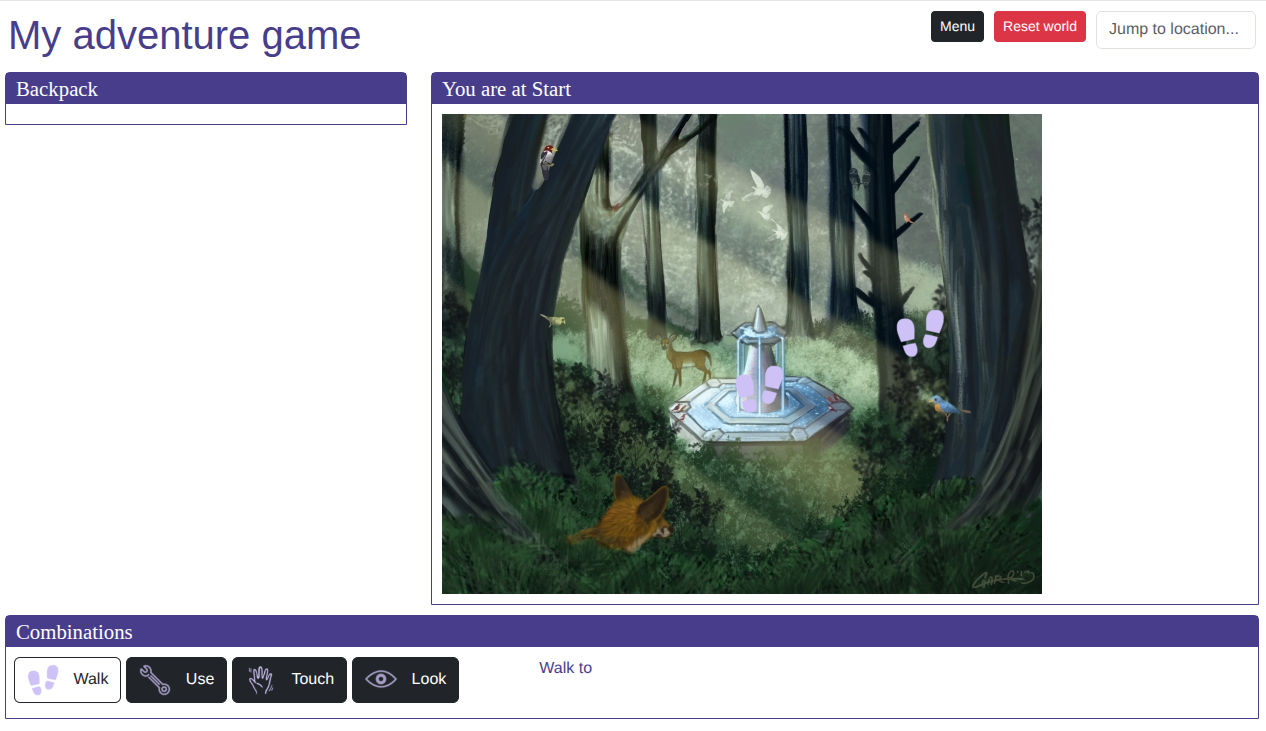
</visual-features>As you can see, we need a fountain.jpg file. You can get it from the online demo. Add it to your game's resources folder. Still, your browser shows nothing. That's because StoryScript remembers your game's state, so that a browser refresh will not interrupt game play. Behind the scenes therefore, the worldProperties type flag still has the 'Text' value. For cases like this, the Reset world button is available during development. It will reset your game's state back to what it would be when you'd start a new game. Press it now, and you should see the fountain image appearing:
To make the image interactive, I use the ImageMap HTML functionality. I can create an ImageMap using a website like image-map.net. Just upload an image and create some areas for your picture:
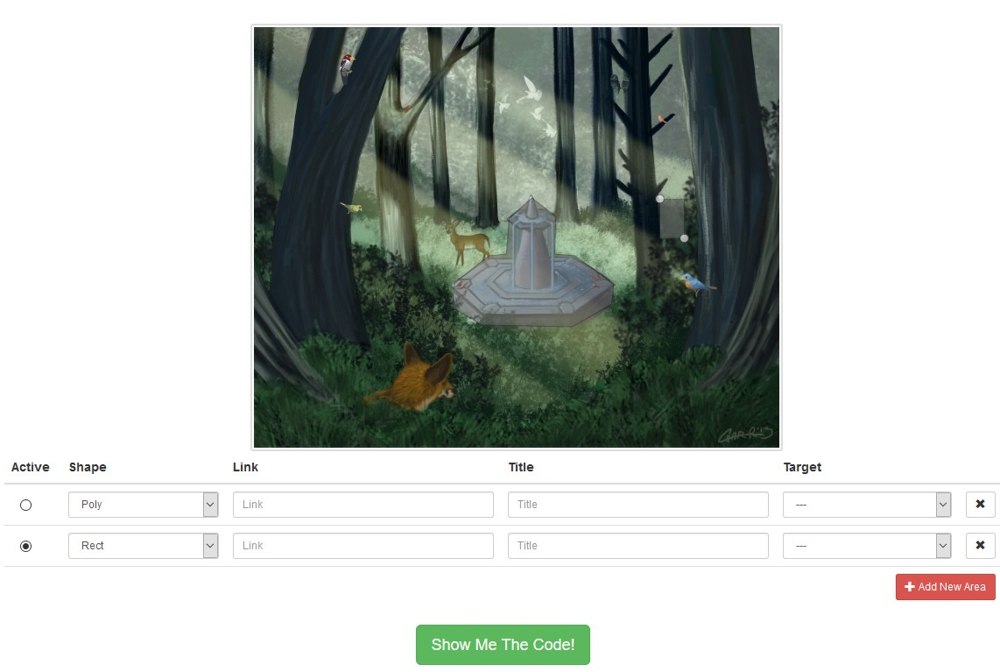
In your browser, you should see a pointer when you move the mouse over the fountain area. And you should be able to interact with the fountain, looking at it and touching it.
We used the Touch combination to add a new feature to the location before. To make that work using image map areas, we need to add a bit of code. Open the stand-alone feature Corridor.ts, and add the coords and shape properties:
name: 'Corridor',
description: 'A passage through the undergrowth',
coords: '492,241,464,196',
shape: 'rect',
combinations: {
	...
}
Back to the browser. At first, the passage isn’t there. Only after you touched the fountain is it added and can you use the Walk combination to travel through the passage to the next location.
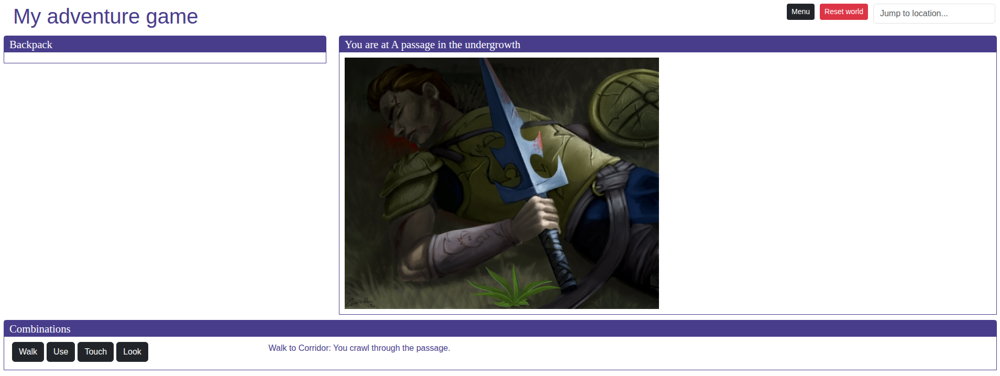
Let’s make the Passage location visual as well. Add the code below to the Passage.html file, using the ssVisualFeatures and the ssArea snippets:
<visual-features img="fallenhero.jpg">
    <area name="WoundedWarrior" coords="350,96,378,137,416,182,438,253,519,191,469,137" shape="poly">
    <area name="Herbs" coords="235,390,355,429" shape="rect">
    <area name="PassageBack" coords="2,292,93,478" shape="rect">
</visual-features>
To show the herbs in the location, we need to add an image for it; You can do that in the Herbs.ts using the image property:
name: 'Herbs',
picture: 'herbs.png',
equipmentType: EquipmentType.Miscellaneous,
We now show the warrior on the ground with the herbs close to him. As before, you can pick up the herbs, they will disappear once collected:
From now on, you can cycle between the text and visual mode of the adventure by changing the type property set on your worldProperties in your rules.ts. If you can think of a use, you can also combine both text and visual adventuring by removing the use of the type flag from your GameContainer component. That way, text will be shown when there is no visual-features tag defined in the location HTML file, while the image on the visual-features tag will be shown when it is present:
<location-visual></location-visual>
<location-text></location-text>
Icons and custom cursors
There's another setting to combinations that does much to improve the experience for the user: adding a picture to each combination action! This is easy to do, simply add the name of the image (that should be in your game's resources folder) to the combination action it belongs to, like this:
{
    text: Combinations.USE,
    preposition: 'on',
    picture: 'use.png'
}
Make sure the symbol images are not too big. PNG files of 50x50 pixels work well.
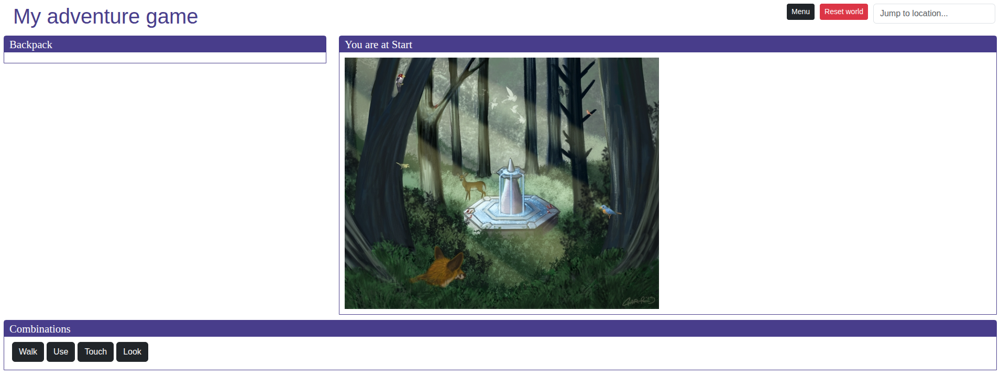
When you've added a picture for each of your combination actions, StoryScript will show you the following:
- The picture is shown in front of the combination action name on the combination action buttons.
- On devices using a mouse, the mouse cursor will change into the selected combination action picture when a combination action is selected and hovering over a feature area.
- On touch devices, upon selecting a combination action, the picture will be shown on all the available feature areas.
Our game now looks like this on a touch device: